
Aftercare · 9 min read
How to look after a reglazed bathtub (and what ruins one)
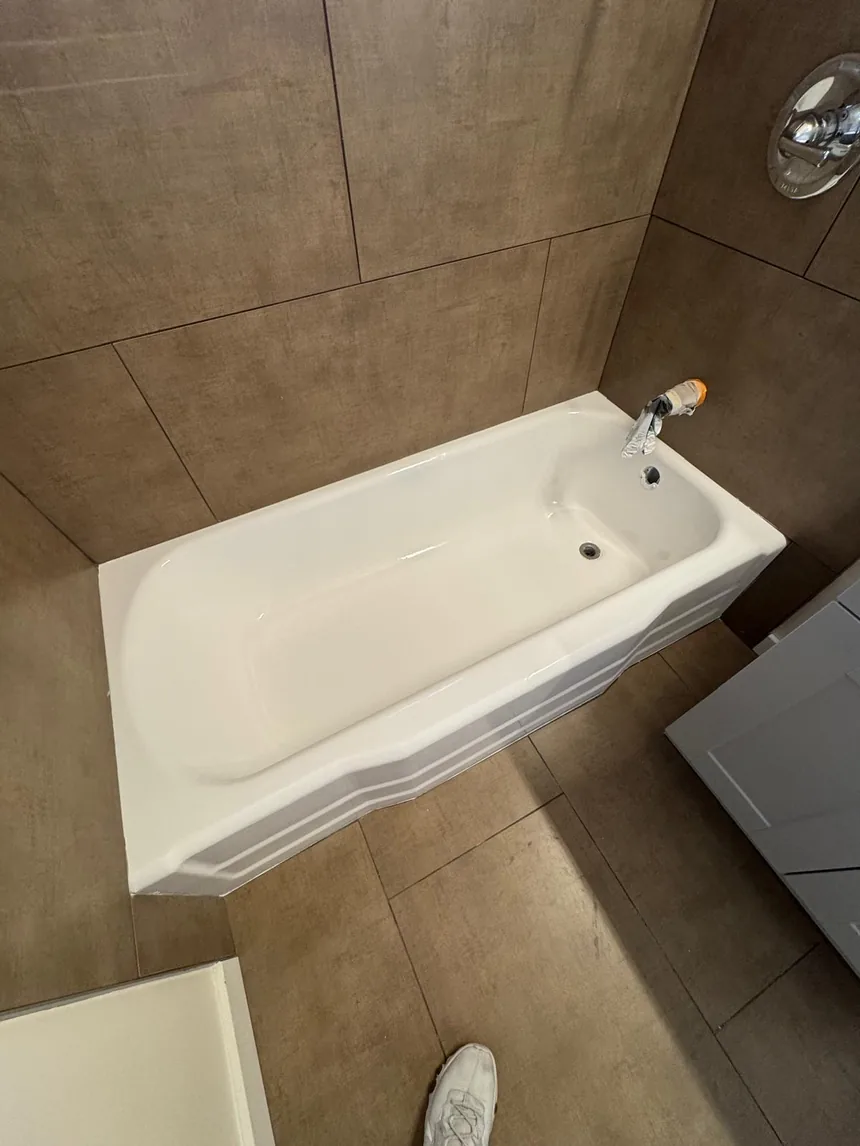
A refinished surface is hard, smooth and non-porous. Looked after normally it will stay that way for years. Almost everything that shortens its life is something someone did on purpose, believing it was helping.
Wait the full 24 hours
This is the big one, and it's the only rule with a deadline. A new finish needs to cure before it gets wet or takes weight. Using it early is the single most common way a good job gets ruined, and it can't be undone afterward.
For our work that's 24 hours from when we finish. After that you can use it and touch it normally. We confirm it on the day as well, because a bathroom with no window and a lot of humidity behaves differently from one you can air out — and if you're ever unsure, ask rather than guess. Waiting longer costs you nothing.
The first day or two
Once the cure time is up and the tub is yours again, a few things are worth knowing about the days that follow.
- Keep the room ventilated. Leave the window open or the fan running when you can. It costs nothing and it helps.
- Leave the caulk alone. If we ran a fresh bead where the tub meets the tile, it has its own drying time — usually longer than the finish. Don't pick at it, don't clean it, don't run a bath that fills above it until you have been told it's fine.
- Don't use the tub as a shelf. Not for cleaning bottles, not for a toolbox, not for the shampoo caddy you took out. A new finish reaches full hardness later than it reaches usable, and a metal rim left standing in one spot is the classic way to find that out.
If you want the exact windows — usable, and fully hardened — ask before we leave. They depend on the job, and they are not the same number.
Cleaning: less than you think
The point of a non-porous surface is that dirt sits on it rather than in it. So it wipes clean. It does not need to be scrubbed.
- Use a non-abrasive liquid cleaner and a soft cloth or sponge.
- Don't use scouring powder, cream cleansers with grit, or anything that says "scrub".
- Don't use abrasive pads, steel wool or a magic-eraser type block. Those work by sanding.
- Go easy on bleach and strong drain chemicals sitting on the surface.
If a surface only looks clean after you've scrubbed it hard, you are wearing it down — that was true of the original glaze too, and it's how a lot of tubs got to us in the first place.
Hard water, which is most of Southern California
Water here is hard, and hard water leaves minerals behind wherever it dries. On a porous old surface those minerals sink in and take a scrubbing to shift — which is precisely the scrubbing that wore the original glaze out.
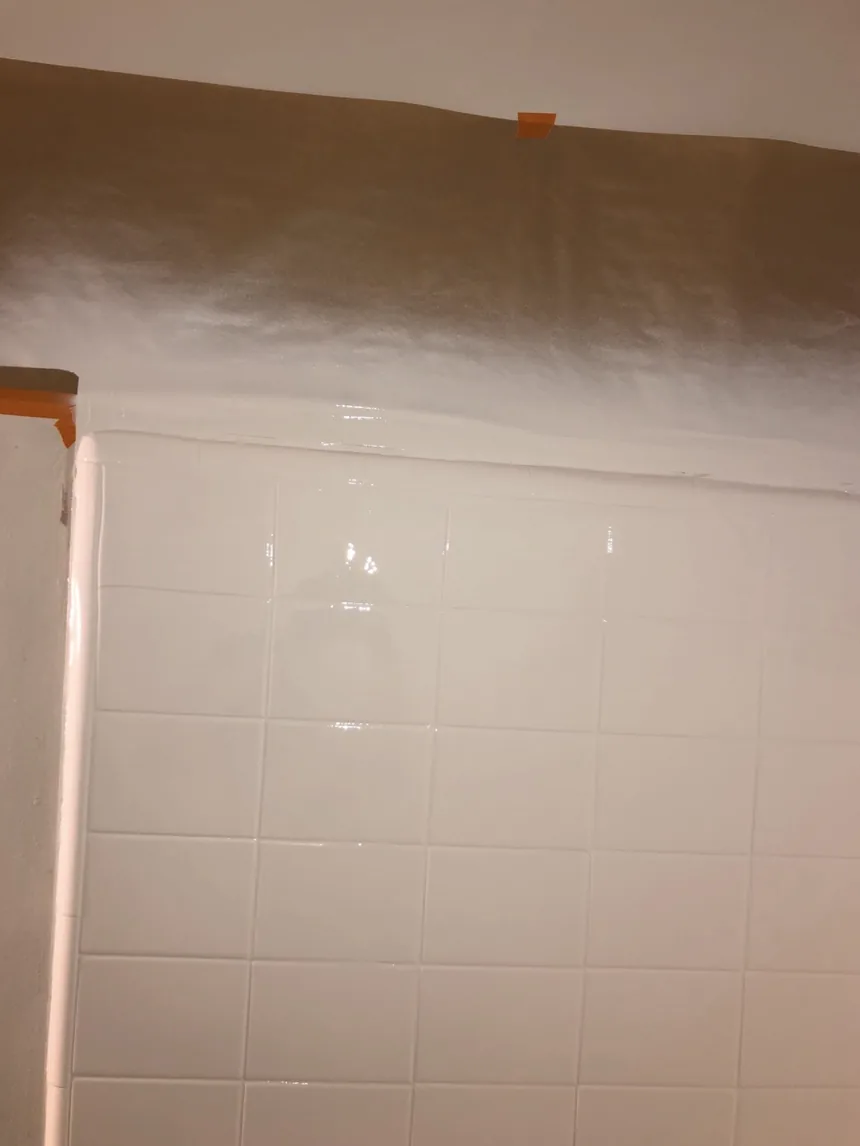
On a non-porous finish they sit on top, so the fix is embarrassingly low-tech: wipe the tub down after a bath, or give the walls a pass with a squeegee after a shower. Thirty seconds, and you never get to the point where anything needs a cream cleanser.
If you already have scale built up from before, don't attack it with an abrasive. Ask us — there are ways to take it off that don't take the finish with it.
The bath mat problem
Suction-cup bath mats are the most common source of damage we hear about. Left in place, they trap water underneath and hold it against the surface indefinitely, and the suction cups grip hard enough to mark a finish when pulled.
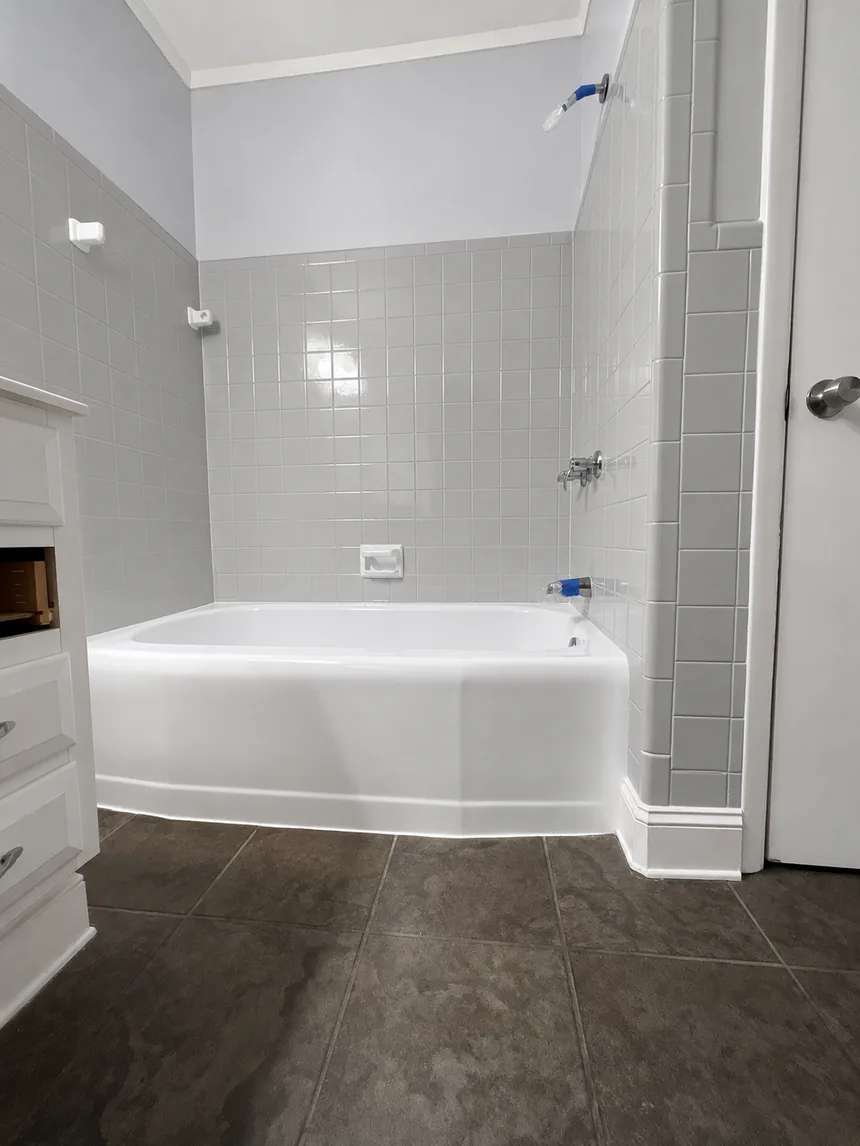
If you need a mat for safety, take it out and hang it up after every use. Don't leave it sitting in the tub.
Non-slip, done the safe way
"Don't use a suction mat" is unhelpful advice on its own if the reason you have one is that somebody in the house needs it. So: the mat is fine, the mat living in the tub is not. Hang it over the rail after every use and it stops being a problem.
Adhesive non-slip strips are the other common answer, and they are worse than the mat — they bond to the finish and take some of it with them when they eventually come off.
A non-slip surface applied to the floor of the tub while the job is being done avoids the problem entirely, and it is worth asking us about at the estimate rather than afterward — anything that changes the floor of the tub is an easy decision before the first coat and an awkward one after the last.
Don't leave standing water
A dripping faucet that leaves a pool around the drain will leave a mark over months, especially with hard water — and most of our area has hard water. Fixing the drip is the fix.
Anything that rests on the surface
The finish is hard, but it is a finish, and the things that mark it are rarely dramatic. They are objects that sit in one place for months.
- Sliding shower door tracks. The bottom track holds water against the tub rim permanently. If you have one, dry it out occasionally, or take the chance to switch to a curtain while the bathroom is already disrupted.
- Wire or metal caddies hooked over the rim, and anything with a rusty foot. Rust transfers, and a transferred stain looks exactly like a failing finish until you scrub it and find it isn't.
- Pet claws and heavy buckets. Bathing a large dog is fine. Dragging a galvanised bucket across the floor of the tub is not.
Chips happen
Drop something heavy and hard in a tub and it will chip, refinished or not. The useful thing is that it doesn't have to stay that way: a small chip can be repaired long before it becomes a rust stain spreading across the bottom. Call while it's small.
What normal looks like, and what doesn't
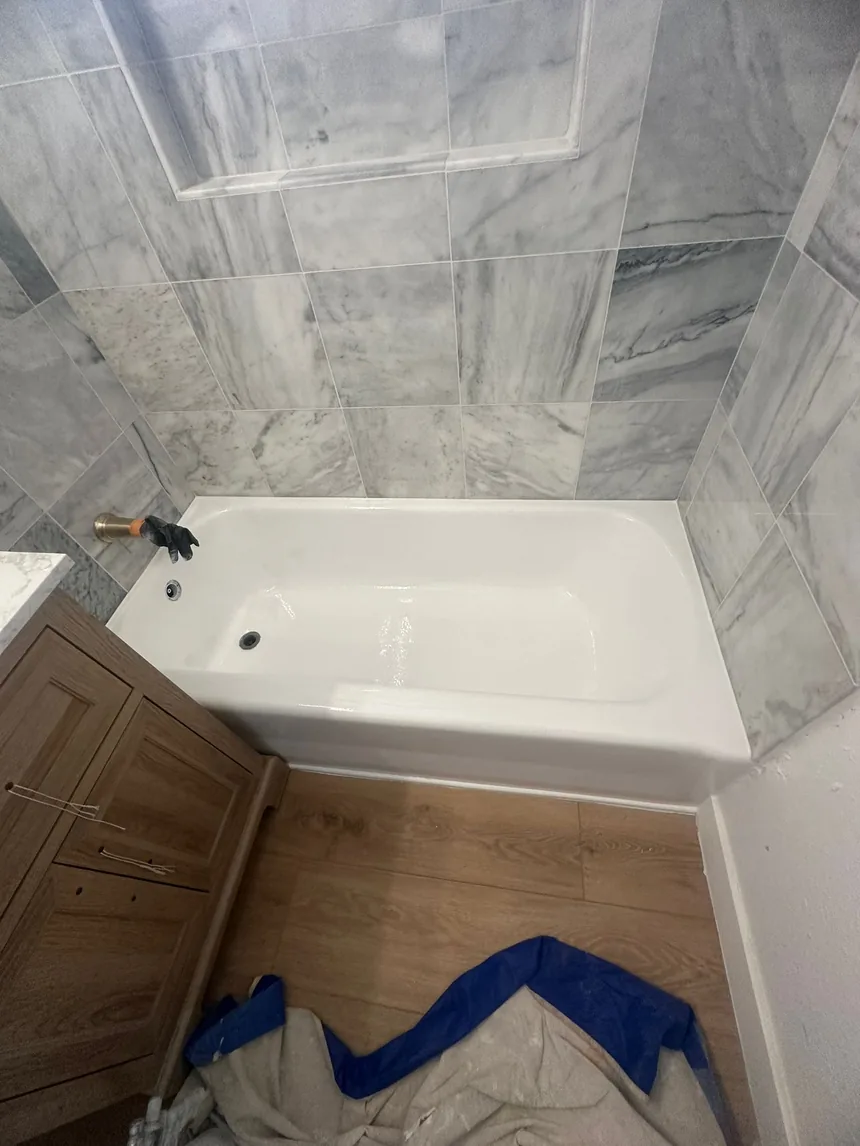
Over years, a finish loses a little gloss, most noticeably where feet go and around the drain. That is wear, it is even, and it is what every surface in a bathroom does.
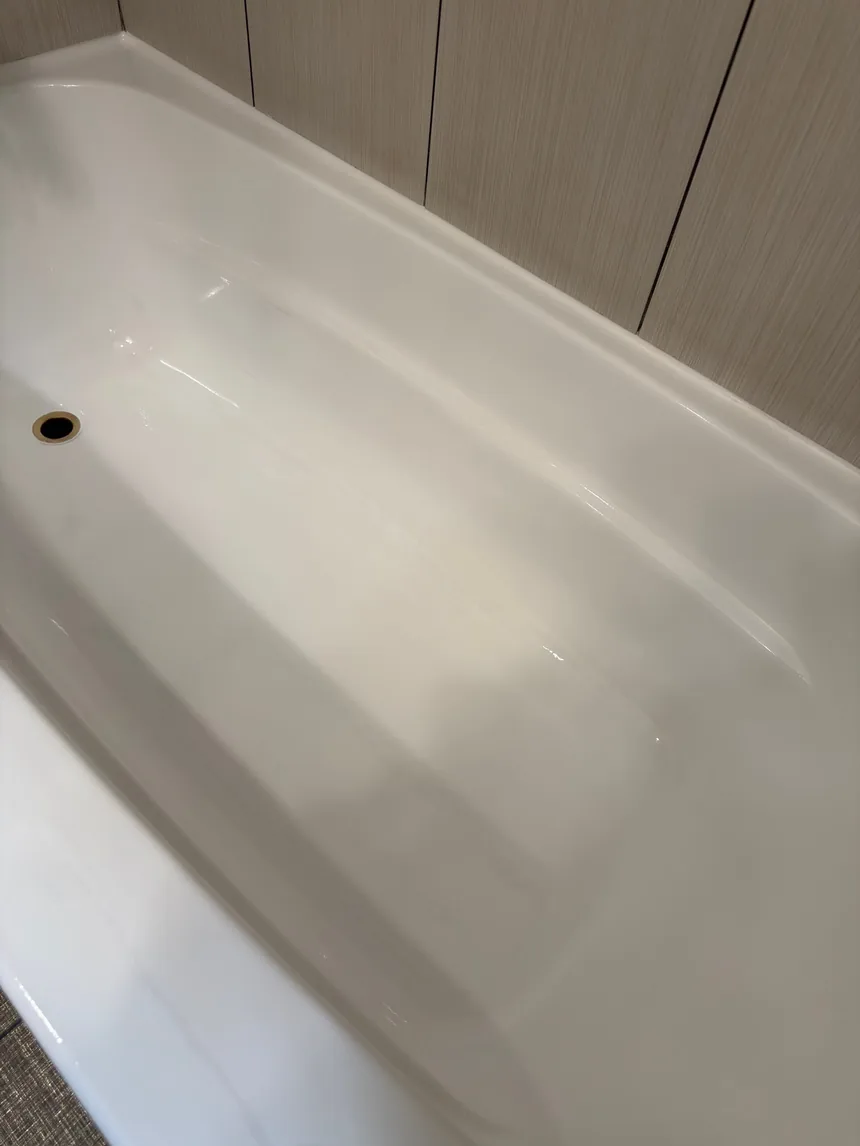
What is not normal is a finish lifting, bubbling, flaking or peeling back in sheets, particularly within the first few months. That isn't wear — it's a bond that never formed, and no amount of careful cleaning will stop it spreading. It is also not your fault. We wrote about why refinishing peels and what causes it.
Either way, the useful move is the same: tell us early. A small area caught early is a repair. The same area in a year is the whole tub again.
The whole thing, in six lines
- Wait out the full 24 hours before the tub gets wet or takes weight.
- Wipe, don't scrub. Liquid cleaner, soft cloth, no grit and no pads.
- Hang the bath mat up after every single use.
- Fix dripping faucets, and dry the tub down in hard water.
- Don't store things standing in the tub.
- Chips and lifting: call while they're small.